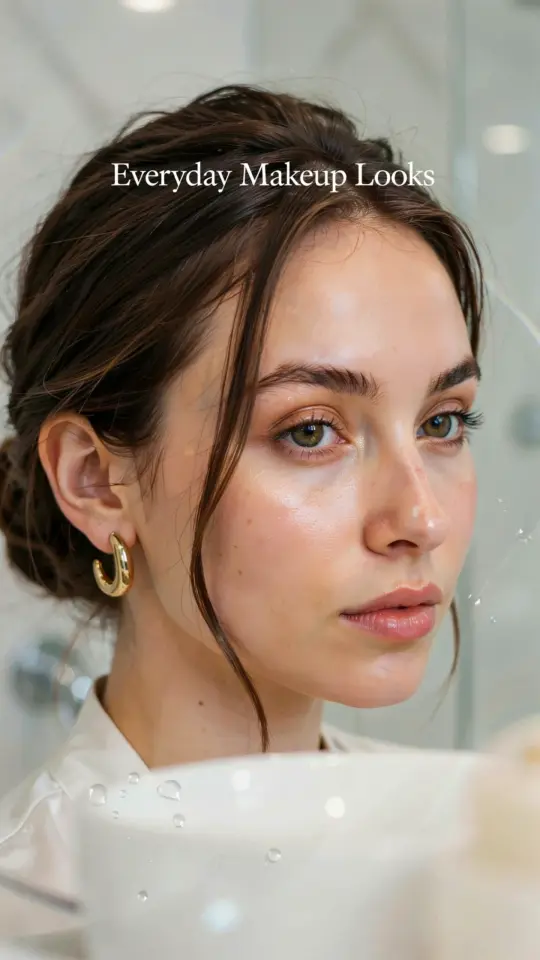
Why a 5-Minute Routine Works for Busy Mornings
I used to think a natural glow meant a full face of foundation, highlight, and a complicated contour. Then I had a baby, started a side hustle, and realized I had exactly five minutes to look human before running out the door. This everyday makeup look for natural glow is the result of that survival mode. It uses five products, takes five minutes, and costs less than a decent brunch. No YouTube tutorials or specialty brushes required.
The trick is focusing on what actually makes you look awake and healthy. Skip the heavy foundation that takes blending time and covers your natural skin texture. Instead, target the two areas that signal tiredness: the under-eye darkness and that washed-out skin tone. A bright under-eye and a dab of cream blush are the real heroes here. Everything else is optional fluff.
I have tested this routine with drugstore favorites and a few splurges, and the results are the same. You will look like you slept eight hours even if you only got five. Your skin breathes, your morning stress drops, and you actually feel confident walking into that meeting or school drop-off.
The 5 Products You Actually Need (All Under $30)
You do not need a dozen products from a fancy Sephora haul. This list is curated for speed and affordability. Each product serves a dual purpose so you can trim both your routine and your budget.
- Sheer tinted moisturizer or a light-coverage BB cream. Look for one with SPF if you are skipping sunscreen. I use the Maybelline Dream Fresh BB Cream because it evens out redness without looking like a mask.
- A brightening under-eye concealer. Go for a shade that is one to two shades lighter than your skin tone. The NYX Bare With Me Concealer Serum is thin, hydrating, and crease-resistant.
- Cream blush in a peachy or pink shade. Creams blend faster than powders and melt into skin. The e.l.f. Putty Blush is a bargain and gives that flushed-from-within look.
- A tinted brow gel. It tames unruly brows and adds color in one swipe. The Glossier Boy Brow is cult for a reason, but the Essence Make Me Brow is a fantastic drugstore dupe.
- A tube of mascara. Not a waterproof one unless you are crying today. A regular curling mascara like L’Oréal Telescopic lifts lashes fast without clumps.
That is it. Five products, all under $30 total if you pick smart. You can swap in what you already own, but keep the count low. More products equal more decisions and more time.
Step 1: Brighten Your Under-Eye Area (No Concealer Cake)
Start with a clean, moisturized face. If you have a minute, pat a little eye cream under your eyes to keep the concealer from settling into lines. Dot a small amount of your brightening concealer under each eye, focusing on the inner corner where darkness is worst.
Blend with your ring finger using gentle tapping motions. Do not drag or rub. The warmth of your finger melts the product into your skin for a natural finish. You want to cover darkness, not erase every tiny vein. Let some of your natural skin tone show through. That is what makes this look real.
If you feel extra tired, swipe a tiny bit of the same concealer onto the inner corners of your eyelids and the bridge of your nose. These trick the eye into thinking you are wide awake. It sounds odd but it works.
Step 2: Add a Cream Blush for a Healthy Flush
Cream blush is the fastest way to look like you just went for a brisk walk. I take a pea-sized amount of the e.l.f. Putty Blush and dab it onto the apples of my cheeks. Then I blend it upward toward my temples, using the same finger. This lifts the face and avoids a clown circle effect.
Here is the budget-friendly hack: you can also use a tiny bit of cream blush on your lips. I press whatever is left on my fingers onto my lips for a matching stain. That saves you buying a separate lip product. The whole step takes about 30 seconds.
If you have oily skin, cream blush can slide off by midday. Set it with a light dusting of translucent powder, but only on the cheek area. For dry or normal skin, skip the powder and let the cream stay dewy.
Step 3: Quick Brow and Lash Boost
Brows frame your whole face, but filling them in takes forever. Instead, use tinted brow gel. Brush it through your brows in upward strokes, then sideways to set the shape. The tint darkens the sparse spots while the gel locks everything in place. One coat is usually enough.
For lashes, curl them if you have a curler handy. If not, just apply mascara from root to tip. Focus on the outer lashes to create a cat-eye lift effect. Do not pump the wand in the tube because that adds air and dries it out. Just one smooth coat on top lashes only. Bottom lashes can make eyes look smaller if you are in a rush, so skip them.
If you want
#everydaymakeup #naturalmakeup #5minutemakeup #quickmakeuproutine #busymorningmakeup
Leave a Comment