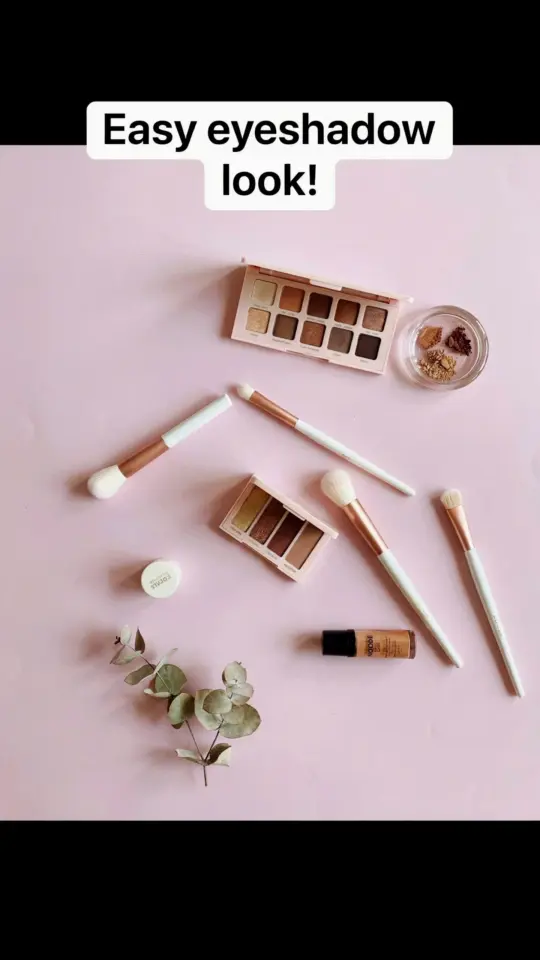
I have a confession. I spent years thinking you needed to drop a hundred bucks just to look like you tried. Not true. This budget makeup tutorial will prove it. Using only drugstore favorites from Elf, NYX, and Maybelline, I put together a whole glam look for under twenty dollars. Seriously. Every single product cost less than a fast food meal. And honestly? It turned out better than half the high-end stuff I own. So if you’re on a tight budget or just starting out, stick with me. We’re doing this.
Start with a Flawless Base for Under $5
Look, I used to think foundation had to cost a small fortune. Then I tried the Maybelline Fit Me Dewy + Smooth. It’s like eight bucks. That’s less than a burrito. And it blends out so nicely you’d think I spent three times that. For a full coverage option, the Elf Camo CC Cream is my go-to. It’s a little thicker, so I warm it up on the back of my hand first. Pro tip: apply with a damp sponge. It stops that cakey look before it starts.
Now here’s a weird thing I noticed. The shade range on drugstore foundations can be a nightmare under yellow lighting. I once bought a bottle that looked fine in the store but turned me into a ghost under my bathroom bulb. So I always check the bottle against my jaw in natural light before buying. Or I steal a tester from the display. No regrets.
Easy Eye Glam with One Drugstore Palette
You don’t need a zillion shadows. Honestly, one good palette does the trick. The NYX Ultimate Shadow Palette in “Warm Neutrals” has been my ride or die for years. It’s around twelve dollars but you get sixteen shades. That’s less than a dollar per color. Let that sink in.
To get a quick glam look I do this: sweep a matte brown through the crease. Pat a champagne shimmer on the lid. Then I take a tiny flat brush and press a darker brown right along the lash line. That’s three steps. Five minutes. It looks like I spent an hour blending. The key is to tap off the excess powder before you apply. Otherwise you get fallout all over your cheeks. Not cute.
I still remember the first time I tried a high-end palette and got the same results. I felt so stupid for wasting cash. But hey, you live and learn.
Lips That Pop Without the Price Tag
Lipstick is one of those things where cheap can actually be better. Why? Because you lose them more often. I’ve dropped a NYX Soft Matte Lip Cream down a sink drain before. It was a tragedy, but at six bucks I could buy another that same afternoon.
For a glam look, I love the Maybelline Superstay Matte Ink. It stays put through coffee, lunch, and a conversation that goes on way too long. The shade “Voyager” is a deep berry that makes you look like you have your life together. Two coats. Let it dry for thirty seconds. That’s it. And if you want a glossy finish on a budget, the Elf Lip Lacquer in “Moody” gives that wet look without feeling sticky. I literally own three backup tubes because I’m scared they’ll discontinue it.
Cheeks and Bronzer – The Unsexy but Essential Step
I used to skip blush. I thought it was unnecessary. Then I looked at photos of myself and realized I looked like a corpse wearing eye shadow. Not a good look. So now I swear by the NYX Sweet Cheeks Creamy Powder Blush. It’s about eight bucks and one swipe gives you a flush that looks natural. The shade “Peach Perfect” is my favorite. It’s not glittery, just glowy.
For bronzer, the Wet n Wild Color Icon Bronzer in “Ticket to Brazil” is criminally cheap (three dollars!) and it’s not orange. I once used a bronzer that was so orange I looked like a Cheeto. This one is more like a warm tan. I swipe it on my cheekbones, temples, and a little on my nose. Then I blend with a fluffy brush. Takes ten seconds.
Also, confession: I sometimes use the same blush as eyeshadow in a pinch. Don’t judge me. It works.
Brows on a Dime: Two Products That Actually Work
Brows are the thing that pulls the whole look together. If your brows are messy, the rest doesn’t matter. I learned that the hard way. So here’s what I use: the Elf Ultra Precise Brow Pencil. It’s four dollars. It has a tiny tip so you can draw little hair strokes. No, it doesn’t fade by lunchtime. I set it with a clear brow gel from Essence. That one’s like two bucks.
Two steps. Fill in any gaps. Brush the hairs upward. Done. Your brows look full but not drawn on. Seriously, I’ve had people ask if I got them microbladed. Nope. Just good drugstore products and a steady hand.
Actually, my hand isn’t that steady. I have to rest my elbow on the counter. Works fine.
The Finishing Touch: A Setting Spray That Costs Less Than Your Coffee
You did all that work. Now make it last. The NYX Matte Finish Setting Spray is my holy grail. It’s around eight bucks, and a few spritzes lock everything in place. I hold it about eight inches from my face, spray in an X and then a T, and let it dry naturally. No fan, no pressing. It dries in about a minute.
I’ve worn this setup through a humid summer day and my makeup still looked fresh at dinner. Not perfect, but close enough. And if you want a dewier finish, the Elf Dewy Setting Mist is around six dollars. Both are available at any drugstore. You can even grab them during a CVS sale and get them half off. I stock up like I’m preparing for a zombie apocalypse, but hey, it’s practical.
So there you have it. A full glam face using only drugstore favorites, all under twenty bucks total. No expensive primers, no fancy brushes, no regret. You can look like a million dollars without spending it. Go ahead and save this post for your next target run. And if you try it, tell me how it goes. I’m curious.
#budgetmakeup #makeuptutorial #drugstoremakeup #affordablebeauty #makeuptips
Leave a Comment