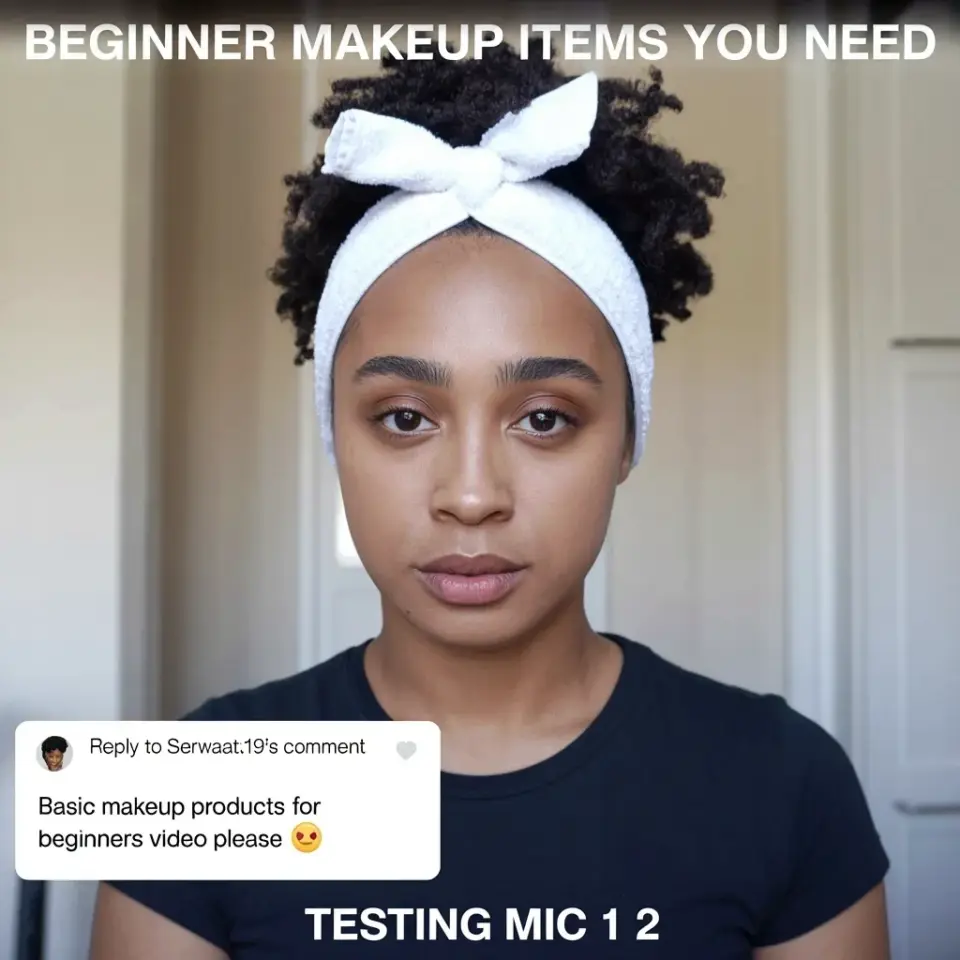
Here’s the thing about “no makeup” makeup: on deeper skin tones, it goes wrong more often than not. Products either lean too ashy, too orange, or they simply sit on top of the skin like a chalky mask. I get it, I’ve been there. So when I decided to film my own before and after, I stripped the routine down to three non-negotiables: a spot concealer, a brow gel, and a nude lip. That’s it.
The whole point of this natural makeup tutorial is to look like you woke up flawless, not like you spent forty minutes in front of a mirror. I started with my bare, shiny, post-skincare face and ended with a soft, blurred glow that still let my freckles and skin texture peek through. Honestly, it was weirdly satisfying to see the side-by-side. If you have melanin-rich skin and you’re tired of heavy foundation, this one’s for you. Ready to save some money and your sanity? Let’s get into it.
The Budget-Friendly Approach to a Natural Makeup Routine
Look, I’m not here to sell you a $50 tinted moisturizer that you’ll use twice. For this everyday look, I raided my drugstore drawer and found some absolute gems. The formula is simple: lightweight coverage, creamy consistency, and shades that actually understand undertones (because we aren’t one solid color, you know?). The goal is to even out the center of your face, where the redness lives, and leave the perimeter bare. That’s how you avoid the dreaded “mask” effect. Your skin should feel like skin, not plastic wrap. If it feels heavy, you’ve used too much. Simple as that.
Prepping Black Skin So Makeup Actually Melts In
Before I even touched a drop of concealer, I had to deal with the fact that my face was a literal oil slick. And no, that’s not a bad thing! Shine is life on dark skin, but we want a *soft* glow, not a reflection that can be seen from space. So I prepped with a thin layer of water-based gel moisturizer and let it sit for two minutes. Then, and this is my weird secret, I pressed a tissue over my T-zone to soak up the obvious excess. You don’t need a mattifying primer that sucks the life out of your skin. You just need to manipulate the hydration you already have. This also prevents your concealer from breaking up by noon.
Step One: Spot Concealing Instead of Full Coverage
Ok so, the biggest mistake I see women make in natural makeup tutorials is slapping full-coverage foundation all over the place. On our skin, that often looks grey or flat. Instead, I used a tiny, flat brush (the kind that costs $3 at any beauty supply store) to dot concealer only on my hyperpigmentation, the corners of my nose, and my under-eyes. Here’s the trick: don’t rub it in. Pat it.
I used two shades here. Not gonna lie, having two concealers feels annoying, but it makes the difference. One shade matches my skin exactly for spots, and one is one shade lighter for the under-eye area. This gives dimension without needing bronzer or contour. Warm the product on the back of your hand first. It applies so much smoother when it’s body temp.
– Spot-conceal active breakouts or dark marks, not your entire cheek
– Pat with a damp sponge for a skin-like finish
– Leave your forehead and jawline completely bare to keep the look alive
Step Two: The Brow Gel That Does All the Talking
Your eyebrows are the frame of your picture, but they don’t need to be painted on. I used a clear gel for this look because my brows are naturally thick, but if you have sparser areas, a tinted brow gel in a soft taupe or brown works wonders. Brush upwards, then slightly sideways. Don’t try to create an Instagram “swoop” in a natural routine. We are just taming the wildness here. This one small step takes maybe twenty seconds, but it adds so much structure to your face. It pulls the whole look together without looking like you actually tried.
Choosing a Nude Lip That Doesn’t Wash You Out
This is where budget-conscious guides usually fail. They scream “nude!” but they mean “beige,” which on black lips can look like concealer. Yuck. We need a nude that has a hint of warmth, rose, or even brown chocolate to it. I picked a creamy, satin-finish lipstick that I can apply without a mirror. It’s not quite pink, not quite brown, exactly in that sweet spot of “the natural color of my lips, but better on a good day.”
The texture matters too. A matte liquid lipstick will make your lips look flat. You want something that has a slight balm feel to it, so it catches the light and makes your lips look juicy. Just dab a little in the center of your lips and press them together. Blot once. That’s the whole routine. It’s quick, cheap, and literally impossible to mess up.
Setting It All Up For a Long Day
I never bake my face with powder. It’s a trend that leaves us looking too cakey in natural light. Instead, I took a fluffy brush with a tiny bit of translucent setting powder and just pressed it into the under-eye area. That’s the only place I powder. The rest of my face will naturally glow as the day goes on anyway. If you’re oily like me, carrying a blotting paper in your bag is better than piling on more powder. It keeps the skin looking fresh and avoids that patchy, “dry cake” look that settles into fine lines by 3 PM.
The Final Glow: A Liquid Highlighter For Black Skin
Wait, you thought I wasn’t going to glow? A natural look isn’t a flat look. Before I finished, I took the tiniest tip of my finger and dabbed a liquid highlighter (a gold/champagne shimmer, no glitter chunks) onto the very tops of my cheekbones and the tip of my nose. You won’t see a crazy stripe in the before and after, but when you turn your head, you’ll see a soft, wet sheen. That’s the “fresh skin” cue that tricks everyone into thinking you’re getting tons of sleep. It’s such a small touch, but it takes the look from “makeup applied” to “actually glowing.”
This routine is honestly a lifesaver for days when I just can’t deal with a heavy face. It’s cheap, fast, and it makes you look like the laid-back, fashionable version of yourself. I hope this gives you some fresh ideas for your morning routine. If you give this a shot, let me know how your skin tone handles that spot concealer trick. Trust the process and go easy on the powder!
Leave a Comment