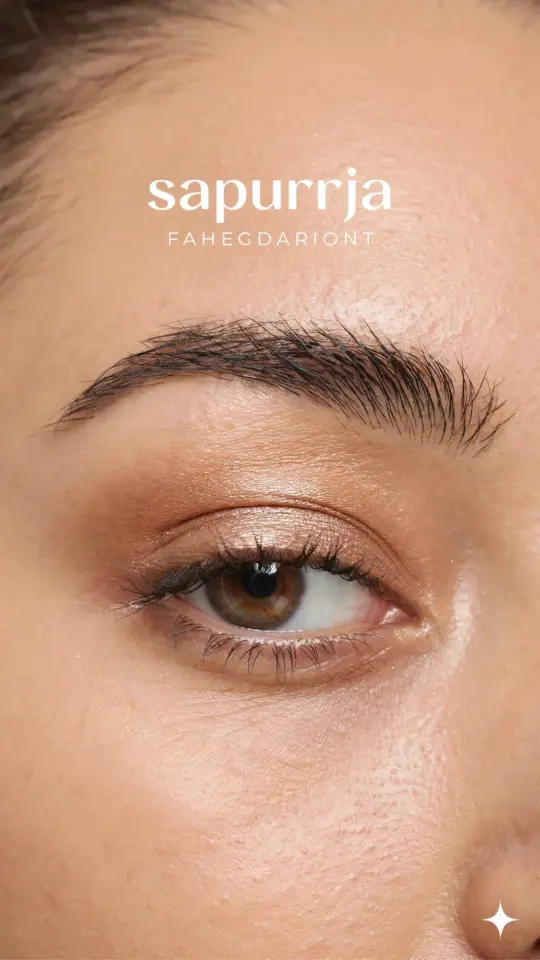
Let’s be real about morning makeup. You land at your desk, coffee in hand, and you want your face to say “I have my life together” without actually having to spend forty-five minutes proving it. This everyday eye makeup tutorial is the routine I lean on when I want soft, neutral color that photographs well, survives a commute, and doesn’t require a fine-art degree to pull off. It is my honest-to-goodness lazy morning vibe, and it works whether you are heading to the office, a client meeting, or just pretending you are going to both.
I have tested a lot of expensive shadows, and honestly? The drugstore ones beat them half the time. You do not need a $60 palette to look polished. You need the right techniques and a few solid products that do not quit by noon. Grab your coffee, ignore the pile of laundry behind you, and let’s get ready with a look that is equal parts natural and pulled together.
Start with a Budget Primer That Actually Grips
If you have oily lids like me, you already know the pain of watching your carefully placed shadow slide into the crease by 9:30 AM. The fix is not expensive, though. The Milani Eyeshadow Primer is around nine dollars, and it holds shadow like a champ for a full twelve hours. I have also had great luck with the e.l.f. Putty Eye Primer, which is about five bucks and works especially well with powder shadows.
Take a tiny amount, smaller than a grain of rice, and tap it over your entire lid up to the brow bone. Give it a few seconds to set. This step is non-negotiable for me because I have hooded eyes, and without the primer, my eyeliner transfers onto my upper lid the second I blink. If you have dry lids, you can skip the powder and just use a creamy concealer, but you still need a base to keep everything in place.
Choose a Compact, Everyday Eyeshadow Palette
Look, you do not need a giant palette with thirty shades you will never use. For this neutral makeup tutorial, I grab the Revlon ColorStay 16 Hour Eyeshadow in “Suede,” which is a four-pan little quad that costs less than ten dollars. It has the perfect mix of a light cream, a warm taupe, a deeper brown, and a soft shimmer. The shades are forgiving, and you cannot really mess them up.
You want to look for a palette with a matte transition shade that is close to your natural skin tone but slightly darker. That is the key to the soft glam look without looking like you tried too hard. I also love the Maybelline New York The Nudes palette for the price, but the Revlon quad is more compact for tossing in a work bag for touch-ups.
My quick rule for picking a budget palette:
– Matte shades for the crease, since shimmer in the crease looks oily.
– One medium brown that can double as an eyeliner.
– A light shade that is not too white, because stark white on the inner corner looks unnatural.
– Avoid palettes with huge chunks of glitter. They fall into your eyes and annoy you all day.
Master the Soft Glam Blending Technique
Here is the thing about soft glam: it is all about the blur. You are not trying to draw a perfect, Instagram-lined shape. You are trying to create the illusion that your eyes are naturally that well-defined. For this everyday eye shadow application, I start by sweeping the light cream shade all over my lid with a fluffy brush. Then I take the taupe shade on a smaller, dome-shaped brush and buff it into the crease with back-and-forth windshield wiper motions.
Do not worry about being precise. Honestly, precision is overrated here. The goal is to create a soft shadow that fades out seamlessly. I alternate between the two matte browns until I find a depth that looks like I actually slept. If it gets too dark, I just take a clean brush with a little of the cream shade and go over the edges to soften them. The whole process takes about two minutes and honestly feels like a little meditation session before the noise of the day.
Create a Slightly Smudged Wing with Gel Liner
A crisp wing is hard to do when you are half awake. This is why I love a good gel pot liner that I can smudge on purpose. The Maybelline TattooStudio Gel Pencil is around seven bucks, but my actual favorite is the Revlon ColorStay Skinny Liquid Liner for a more precise tip. Wait. For this look, I actually prefer a pencil because it gives me the “smudged wing” aesthetic without a sharp edge.
First, look straight into the mirror and find the natural angle of your lower lash line. Follow that upward angle with the pencil to draw a short flick outward. Keep it short. Like, really short. You can always build on it, but it is a pain to take away the extra if you get too bold. Then, trace a thin line along your upper lash line from the inner corner to the flick.
Once the line is on, take a clean, stiff angled brush and gently buff the liner outward and upward. This softens the edge and blends it into your crease shadow. It should look like the liner is just a deeper extension of your shadow, not a solid black stripe. It takes practice, but a slightly messy wing actually reads as more effortless and chic.
Don’t Underestimate a Volume-Boosting Mascara
You can skip the falsies for this one. The mascara is the workhorse here. I have tried high-end ones, but the L’Oreal Paris Voluminous Lash Paradise in “Black Brown” is my ride or die. It costs about nine dollars and gives me the length without clumping into spider legs. The “Black Brown” shade is softer than black, which makes the whole look feel more natural and less harsh against fair skin.
Here is a trick I learned from a makeup artist years ago: wipe the wand off before you use it. I know, it feels wasteful. But it removes the excess product that causes clumps. I apply one coat to the top lashes, wiggle the wand at the base and pull through, and then I do a light layer on the bottom lashes. If you want a little extra lift, hold the wand at the base of your lashes for three seconds before sweeping up.
Quick Fixes for the Time-Crunched Morning
We all have those mornings where the alarm goes off later than it should. If you only have five minutes to do the eyes, skip the primer and the shadow. Just do a quick sweep of your favorite neutral shade on the lid and go straight to the liner. Honestly, a simple brown liner and a coat of mascara can look just as intentional as a full five-step eye makeup routine.
Keep micellar water and a cotton swab on hand. I have a weird habit of getting liner on my brow bone every. Single. Time. A quick swipe with a pointy swab fixes it in two seconds, so do not start over. Life is too short for a perfect wing. Just smudge the mistake into the shadow and no one will ever know.
There you have it. A soft neutral eye makeup routine for work that respects your wallet, your time, and your desire to look like a human who sleeps. Please go try it, and then tell me which budget product you end up loving. I am always looking for a new holy grail under ten bucks.
#everydaymakeup #eyemakeuptutorial #neutralmakeup #softglam #morningroutine
Leave a Comment