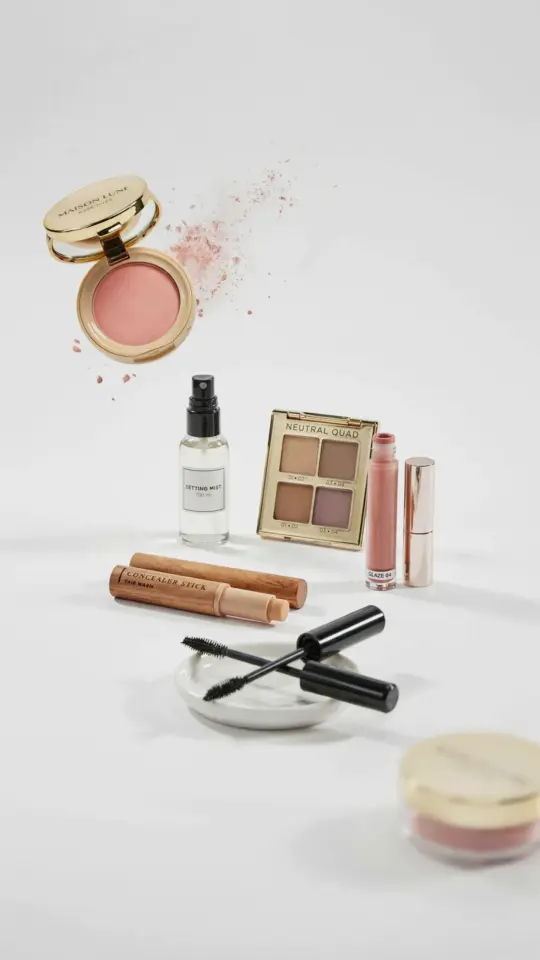
You want an everyday makeup tutorial on a budget that actually looks good and doesn’t cost a small fortune? I hear you. I’ve been there, standing in the drugstore aisle squinting at price tags and wondering if that $4 mascara will make me look like a raccoon by noon. Spoiler: it won’t, if you pick the right one. This whole routine relies on products under $15, uses your fingers more than pricey brushes, and takes about ten minutes. Honestly, that’s less time than you spend scrolling through TikTok deciding what to watch. I’m going to walk you through every step like you’ve never done this before, because maybe you haven’t. That’s fine. We all start somewhere.
Building a Base with Drugstore Foundation or Tinted Moisturizer
The first step for a natural look is evening out your skin tone, but you don’t need a full coverage foundation that feels like a mask. Look, if you’re new to makeup, start with a tinted moisturizer or a lightweight BB cream. Something like the Maybelline Dream Fresh BB Cream is under $10 and gives you that “my skin but slightly better” effect. You just squeeze a little on your fingers and pat it onto your face. That’s it. No sponge, no brush, no drama.
If you prefer a foundation, go for something with “skin tint” or “light coverage” on the label. The e.l.f. Flawless Finish Foundation is a solid drugstore pick and costs around $7. I recommend using your hands here, because fingers warm up the product and make it blend more naturally. Start in the center of your face (your nose, cheeks, chin) and blend outward. You don’t need to cover every single pore. A real face has texture. Let it breathe.
Concealer That Doesn’t Cost a Fortune (and One That Actually Works)
Ok so, concealer is where people either look amazing or look like they slept in a patchwork quilt. The key is to use it only where you need it: under eyes, around the nose, on any redness or spots. My personal cheap favorite is the NYX Bare With Me Concealer Serum. It’s around $10, feels hydrating, and doesn’t crease into a thousand tiny lines by lunchtime. I have a weird thing where I hate the way most concealers smell (like play-doh mixed with regret), but this one doesn’t have that problem.
Here’s the thing: don’t go crazy with concealer. A tiny dot under each eye, a swipe around your nostrils, and maybe one more dot on that blemish you’ve been picking at (we all do it, no judgment). Blend with your ring finger using gentle tapping motions. Ring finger because it’s the weakest, so you won’t accidentally rub off the product with too much pressure. That’s a tip nobody told me for years, and it actually works.
A Quick and Easy Eye Look with Drugstore Eyeshadow
For a natural everyday look, you don’t need a palette with twenty shades. One neutral brown or taupe eyeshadow will do the job. I love the e.l.f. Mini Eyeshadow Palette in “Rose Water” because it has light, medium, and dark shades, all under $5. But honestly, you can use a single shadow pressed into the crease and over the lid. Pick a shade one or two tones darker than your natural skin. Sweep it from your lash line up into the crease of your eye using your finger or a little sponge tip that probably came with the product.
- Step one: take a light shadow (or just a bit of translucent powder) and dust it over your eyelid as a base. Helps everything stick.
- Step two: grab a medium brown shadow on a small, fluffy brush (or use the end of a clean finger). Swipe it along your upper lash line like a soft liner, then blend it upward into the crease. No sharp lines.
- Step three: if you want a bit of shimmer, tap a champagne or pearl shade onto the center of your lid with your fingertip. That’s it. Two colors, three minutes, done.
A lot of tutorials tell you to use three or four shades and a blending brush made of unicorn hair. Not necessary. You are going to work, not a fashion show. A single swipe of shadow on the outer part of your eye can make you look awake without trying too hard.
Mascara That Makes a Difference Without the Price Tag
Mascara is one of those things where the drugstore often beats high-end, and I will die on that hill. My go-to is Maybelline Lash Sensational, which is around $8 and gives you fanned out, separated lashes that don’t look like spider legs. But here’s my mild complaint: the wand is a little curved and takes a second to get used to. Wiggle the wand at the base of your lashes, then pull upward. Don’t pump the wand in and out of the tube, because that pushes air in and dries out the mascara. Just screw it out gently.
If you have shorter lashes, try a mascara with a “bristle” or “comb” wand rather than a big fluffy one. The L’Oréal Voluminous Lash Paradise gives a more dramatic effect but can flake if you rub your eyes. I use that one on days when I want to feel fancy, which is maybe twice a month. The rest of the time, Lash Sensational does the job. Apply one coat on your top lashes. That’s already enough for a natural look. If you want, do a light coat on bottom lashes using the tip of the wand. But be warned: bottom mascara can make eyes look bigger, but it can also smudge if you have oily under-eyes. Try it and see.
The Perfect Drugstore Blush and Bronzer Combo
Blush brings life back into your face after foundation covers it up. Bronzer adds a touch of warmth that mimics the best kind of sun exposure (the kind you get from walking to the mailbox, not from a tanning bed). For a beginner, I recommend cream products because they blend with fingers and look more natural. The e.l.f. Putty Blush in “Tahiti” is around $7 and you just dab a tiny dot on the apples of your cheeks and blend outward. It looks like you flushed a little, not like you slapped on a sticker.
Bronzer can be tricky if you’ve never used it, so go with a matte powder that is not too dark. Physician’s Formula Butter Bronzer in “Bronzer” is a cult favorite (around $12) and smells like tropical vacation. Which is nice, but not the point. Use a fluffy powder brush (even a clean fluffy eyeshadow brush works) and sweep a small amount along your cheekbones, temples, and jawline. That’s it. If you add too much, just blend with a clean brush or a tissue. Remember, you are aiming for a wash of color, not an Instagram contour line.
Sometimes I skip bronzer entirely and just use a warm-toned blush that doubles as a subtle contour on my cheekbones. Extra lazy move, but it works. You have permission to be lazy with makeup. The whole point of a budget everyday tutorial is that you don’t need a dozen products.
Finishing with a Lip Product That Lasts Through Coffee
Lipstick, lip gloss, tinted balm – pick your weapon. For a natural look, I’d avoid a glossy finish unless you want to reapply every time you take a sip of water. A tinted lip balm or a satin lipstick is your best friend. The Burt’s Bees Tinted Lip Balm in “Rose” (about $5) gives a soft wash of color and keeps your lips from drying out. Or try the Revlon Super Lustrous Lipstick in “Pink Truffle”, which is a classic shade that looks like your lips but better. It costs around $8 and lasts through a cup of coffee with only minor fading.
Here’s a trick: apply the lipstick, blot with a tissue, then apply a second thin layer. That second layer stays put better. And if you want a little shimmer, you can add a clear gloss on top just in the center of your bottom lip. Makes them look fuller without the sticky mess. Honestly, I often forget lip products altogether and just use a bit of the same blush I used on my cheeks, dabbed onto my lips. That’s called “monochromatic” and it’s trendy, but really I’m just too lazy to carry another tube. Works fine.
Tools You Already Have (No Brushes Required)
You might think you need a brush set that costs $60 to look good. Not true. For this whole routine I used my fingers, maybe one small eyeshadow brush if I’m feeling fancy, and a clean tissue for blending. Your fingers are amazing tools – they warm the product, they’re precise, and they’re free. The only thing I’d suggest buying is a soft powder puff or a large powder brush for setting everything with a loose or pressed powder, but even that is optional. You can skip powder entirely if you have normal to dry skin. If you’re oily, a cheap translucent powder like the Coty Airspun (![under $7]()) applied with a puff will keep shine at bay for a few hours.
Another tool that costs nothing but helps a lot? A mirror with good lighting. Sit near a window or use a lighted makeup mirror if you have one. Harsh overhead lights will make you think you look like a ghost. Trust me, you don’t.
So there you have it. An everyday makeup routine that uses drugstore favorites, requires zero prior experience, and leaves you looking fresh and put together without feeling like you’re wearing a mask. You can do every step in under ten minutes, I swear. Try it tomorrow morning and see how it feels. You might surprise yourself. And if you find a product that works even better for you, that’s awesome – makeup is all about play, not perfection. Go get ’em.
#budgetmakeup #everydaymakeup #drugstoremakeup #makeuptutorial #affordablebeauty
Leave a Comment