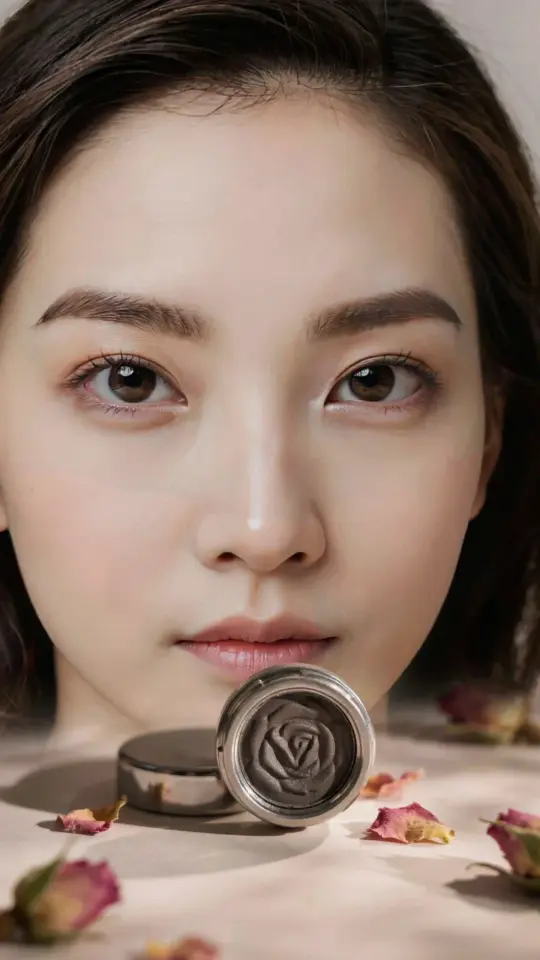
What Exactly Is a Tinted Moisturizer?
If you are new to makeup and feel overwhelmed by foundations, powders, and primers, let me introduce you to the one product that changed my mornings: a tinted moisturizer. It is exactly what it sounds like: a lightweight moisturizer with a small amount of pigment added. Think of it as skincare that also evens out your skin tone. The texture is much thinner than foundation, so it never feels heavy or mask-like on your skin. Many formulas also include SPF, which gives you sun protection without an extra layer.
For a natural makeup look, this is the perfect starting point. You get hydration, a hint of color, and sun defense in one step. It’s the kind of product that makes you look like you just drank enough water and slept well, even if you didn’t.
Why I Choose a Tinted Moisturizer for Everyday Wear
I used to skip makeup on busy mornings because foundation felt like too much effort. Then I discovered tinted moisturizer, and my whole routine changed. It dries down quickly, blends with my fingers in less than a minute, and leaves my skin looking naturally even. I no longer worry about patchy spots or a thick layer that settles into fine lines.
Another reason I stick with it is the no-fail finish. Because the coverage is light, mistakes are easy to fix. If you apply too much, you just blend a little more. There is no skill required. This makes it the ideal choice if you are learning how to do everyday makeup for the first time. You can build up the coverage in just the areas you need, like around your nose or on a blemish, without looking cakey.
Plus, the SPF in most tinted moisturizers means I don’t have to remember a separate sunscreen. That alone saves me two minutes every morning.
How to Pick the Right Shade and Formula
Choosing your first tinted moisturizer can feel tricky because the shade range is often smaller than foundation lines. But there is a simple rule: you want the shade to match your neck, not your wrist or face. Your face is usually a different color than your chest, so hold a tiny swatch along your jawline and blend it downward. If it disappears, that is your match.
For formula, look for words like “sheer,” “natural finish,” or “glow” on the bottle. Avoid anything labeled “full coverage” or “matte” unless you have very oily skin. A good tinted moisturizer should feel like you are putting on a regular face cream. If you have dry skin, pick one with hyaluronic acid or glycerin high on the ingredient list. Oily skin types can choose something with a light mattifying effect, but it should still feel lightweight.
Brands that focus on skincare ingredients, sometimes called skinfood, often create the best formulas. They mix makeup color with things like aloe, green tea, or vitamin E so your skin gets better with each use.
My Simple Everyday Glow Routine (Step by Step)
Here is exactly how I apply a tinted moisturizer for a fresh, natural makeup look. You can do this in less than five minutes once you get the hang of it. I recommend starting with a clean, lightly moisturized face. If your skin is already dry, wait a minute for any moisturizer to absorb before you add the tinted product.
- Dot and blend. Squeeze a pea-sized amount onto your fingers. Dot it on your forehead, cheeks, nose, and chin. Then use your fingertips to pat and blend outward. No brushes needed. Focus on the center of your face and fade toward your hairline.
- Check the edges. Run your fingers along your jaw and down your neck to avoid a line of demarcation. The thin formula blends easily, so this takes only a few seconds.
- Set nothing (unless you want to). Most tinted moisturizers dry to a natural finish that does not need powder. If you are shiny in the summer, you can lightly dust a translucent powder on your T-zone.
- Add a little extra where needed. If you have a spot or redness, tap a second tiny layer on just that area. The product builds well without turning thick.
That’s it. Your base is done and it looks like your own skin, only smoother and more even.
Pro Tips for a Flawless Finish (No Cakiness)
The most common fear people have when trying tinted moisturizer is that it will look patchy or settle into dry patches. The secret is all in how you prep your skin. Before you even open the bottle, make sure your face is clean and slightly damp. If you just washed your face, do not dry it completely. Pat it halfway and then apply the tinted moisturizer. The water helps the product slide on smoothly and keeps it from clinging to dry spots.
Another tip I learned by accident: warm the product in your hands first. Squeeze a bit onto your palm, rub your hands together, then press it into your face. This technique gives a very even, airbrushed effect without any streaking. Also, avoid rubbing. Use gentle patting motions, especially if you have any texture or flakes. Patting presses the color into the skin instead of lifting it.
If you feel like the finish is too shiny, wait five minutes. Many formulas oxidize slightly and settle into a more natural satin look. Give your skin time before you decide to add powder.
Adding Mascara and Tinted Balm (The Only Extras You Need)
Once your tinted moisturizer is on, you are already 80 percent of the way to a polished everyday makeup look. To finish, I add just two products: mascara and a tinted lip balm. That is all it takes to look awake and put together without trying too hard.
For mascara, choose a brown or black-brown formula that defines your lashes without clumping. I wiggle the wand from the root to the tip, and I only do one coat. Two coats can look heavy for a natural vibe. For the lips, a sheer tinted balm in a pink or berry shade adds a wash of color that looks like your natural lip, only better. You can even use the same balm on your cheeks for a quick cream blush.
I often skip concealer under my eyes when I wear tinted moisturizer because the sheer coverage already brightens the area. If you need a bit more coverage, just dab a tiny amount of the tinted moisturizer under your eyes and blend. It’s that simple.
What to Look for in a Skinfood Inspired Tinted Moisturizer
The idea of skinfood is that your makeup should feed your skin, not just cover it. Many tinted moisturizers now include ingredients that benefit your complexion over time. When you read the label, look for things like niacinamide, which helps with redness and uneven tone, or squalane, which keeps the skin hydrated without clogging pores. Ceramides are another great ingredient because they strengthen your skin barrier.
Avoid formulas with a lot of fragrance or alcohol, especially if you have sensitive skin. Those can cause irritation or dryness, which defeats the purpose of a healthy glow. I personally like tinted moisturizers that list a botanical extract like rose water or chamomile near the top. They smell mild and soothe the skin while you wear the color.
One final note on skinfood: do not expect your tinted moisturizer to replace your skincare routine. It is a helper, not a miracle cure. But if you choose one with good ingredients, you are doing your skin a small favor every day.
I hope this guide makes you feel more confident about trying a tinted moisturizer for your own natural makeup look. It is the easiest way to get a fresh, even complexion with almost no effort. If you already have a favorite tinted moisturizer, let me know what works for you in the comments. I am always curious to hear about new finds.
#naturalmakeup #tintedmoisturizer #everydaymakeup #lightmakeup #skinfood
Leave a Comment