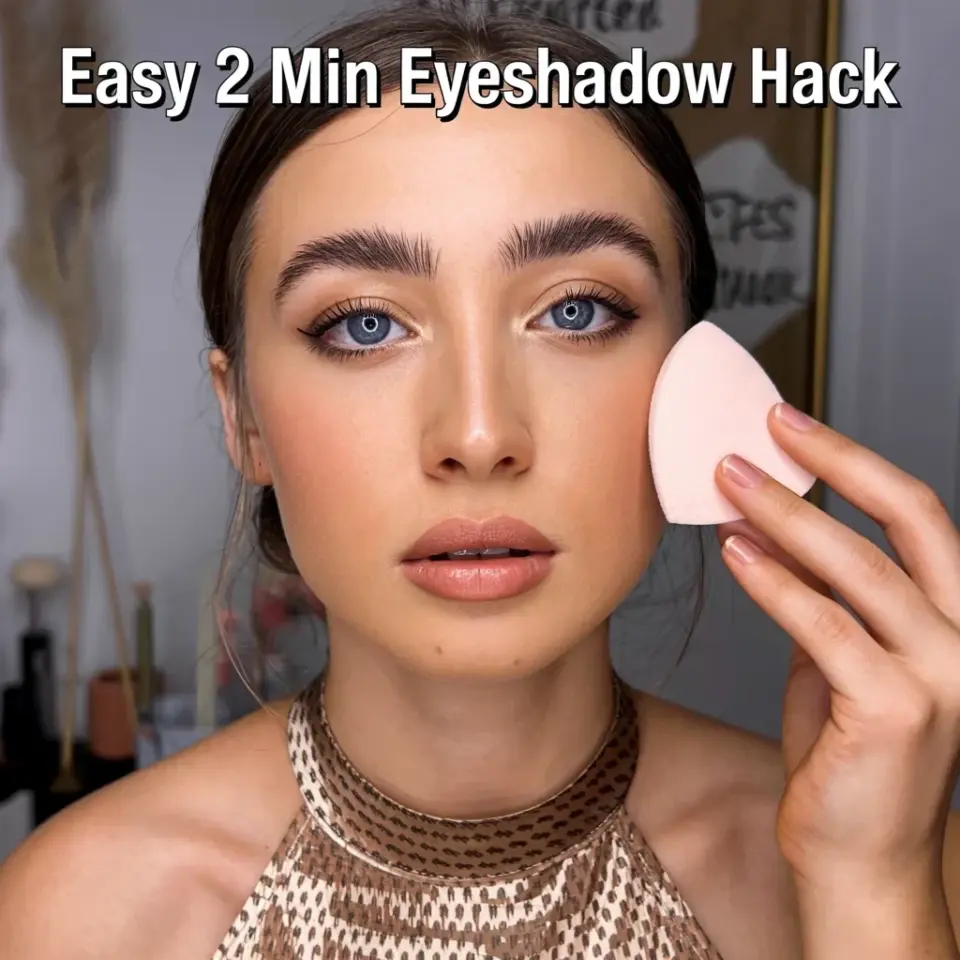
If your eyeshadow always looks patchy or ends up with those harsh, unblended lines, you might be making the most common eyemakeupmistakes: skipping the transition shade. I see it all the time on beginners and even experienced makeup lovers. Without that soft, in-between color, your darker shadows have nothing to diffuse into. They just sit there, creating a sharp edge instead of a seamless gradient. A transition shade is the unsung hero of any good eye look, and once you start using it, your blending game will change completely. Let me walk you through exactly what it is, how to pick it, and how to use it so your eyeshadow goes from messy to professional.
What Exactly Is a Transition Shade and Why Does It Matter?
A transition shade is a matte eyeshadow that is one to two shades darker than your natural skin tone. Its job is to sit between your lid color and your brow bone highlight, creating a smooth gradient that tricks the eye into seeing a flawless blend. Think of it as the bridge. Without it, you have a stark contrast between the light highlight and the dark crease color. That contrast makes the dark shade look like a harsh line. The transition shade softens that line by adding a middle layer of color. It also helps your other shadows stick better and blend out more easily. For anyone struggling with eyeshadowblending, this is the single most important product you can add to your routine.
The One Mistake That Causes Harsh Lines (And How to Fix It)
The biggest mistake I see people make is going straight from a light base shade to a dark crease color. They put a dark brown or black into the crease and try to blend it outward, but it just won’t budge. That is because there is nothing for the dark pigment to grip and diffuse into. The transition shade acts as that middle ground. It loosens up the dark pigment and lets it spread evenly. If you notice patchy spots or hard edges after blending, try this: before adding your darkest crease color, buff a transition shade all over the crease area. Use a fluffy blending brush and windshield-wiper motions. You will see the difference immediately. The next time you feel frustrated with your eye look, remember that a good transition shade is often the missing step. It is a simple fix that saves you from having to start over.
How to Choose the Perfect Transition Shade for Your Skin Tone
Choosing the right transition shade is key. You want a matte neutral that is close to your skin tone but noticeably darker. If you have fair skin, look for soft taupe, light beige, or pale warm brown. Medium skin tones do well with caramel, warm peach, or dusty rose. Deep skin tones can go for rich terracotta, warm cocoa, or deep mauve. The shade should not be too light (or it won’t show up) and not too dark (or it becomes a crease color itself). Here is a quick checklist to help you pick:
- Undertone matters. If your skin is warm, choose a transition shade with yellow or peach undertones. If your skin is cool, go for taupe or grayish brown.
- Test on your jawline. The shade should blend into your skin but still be visible. If it disappears completely, it is too light. If it looks like a dark shadow, it is too dark.
- Matte is non-negotiable. Shimmer or glitter shades do not work as transition colors. They reflect light and create a different effect. Stick to matte formulas.
- Single shadows are fine. You do not need an expensive palette. A single matte neutral eyeshadow in the right depth works perfectly.
Step-by-Step: Applying Your Transition Shade Like a Pro
Now let me walk you through the actual application. You will need a fluffy blending brush, preferably one that is medium-sized and not too dense. Start by tapping a small amount of transition shadow onto the brush. Tap off the excess. Do not load the brush heavily. Place the brush at the outer corner of your eye, right where your natural crease sits. Use small, back-and-forth windshield-wiper motions. Work the color outward and upward, staying in the crease area. Gradually move the brush toward the inner corner, but keep the color softest in the center. The goal is a diffused half-moon shape above your lid. Once you have that base, you can go in with your darker crease color. Apply it the same way, but only on the outer third of the crease. Then use that same blending brush (without adding more product) to diffuse the edges. The transition shade underneath will catch the darker pigment and blend it seamlessly.
Common Blending Problems (and What Your Transition Shade Can Fix)
Even with a transition shade, things can still go wrong. But understanding the problem helps you fix it fast. Here are a few common issues and how to solve them:
- Patchy application: This usually means your transition shade is applied too dry or on a bare lid. Always set your eyelid with a light powder or a skin-toned shadow before applying the transition shade. This gives the powder something to grip.
- Harsh line along the crease: You may be using too much product or a brush that is too small. Switch to a fluffier brush and use less shadow. Build up slowly.
- Muddy or muddy look: You might be blending too many shades that are too similar. Stick to one transition shade for the entire crease area, then add your darker colors on top. Over-blending with multiple browns can turn everything into a dull mess.
- Color disappears: If your transition shade vanishes after blending, it is either too light for your skin tone or you are wiping it off with too much pressure. Use a lighter hand and a clean brush for the final blend.
My Favorite Transition Shades for Different Eye Looks
I have tested dozens of shades over the years, and some have become absolute staples. If you are just starting out, look for single shadows in these ranges: for a neutral everyday eye look, try a soft beige or light taupe. For a warmer bronze look, go with a matte caramel. For a cool-toned smokey eye, pick a grayish taupe or soft mauve. Brands like MAC, ColourPop, and Makeup Geek offer excellent matte singles. If you prefer palettes, check the middle rows. They often contain perfect transition colors. I particularly love a shade called “Warm Taupe” from MAC, but honestly, any matte neutral in the right depth will work. The shade itself matters less than the depth relative to your skin. Do not overthink it. Grab a shade that looks like it could be a faint shadow on your crease, and you are good to go.
How to Tell If You Have Applied Enough Transition Shade
Knowing when you have used enough can be tricky. After you blend, close your eye and look in a mirror. You should see a soft gradient from your brow bone (light) down to your lid (darker). The transition area should have a subtle wash of color, not a solid block. If you see a clear line where the transition shade suddenly stops, you need to blend more outward. If the shade looks invisible, add a little more product. The perfect amount leaves a soft, hazy shadow that looks like a natural crease. It should not look like eyeshadow. It should look like a subtle depth. Once you get that, you are ready to build the rest of your eye look. Remember, you can always add more, but it is harder to take away. Start with less than you think you need and build up slowly.
Final Blending Tips for a Seamless Eye Look
Blending is not about scrubbing your eye. It is about light, controlled movements. Use a clean, fluffy brush for the final blend. If your shadow starts to look muddy, stop. Instead of adding more product, use that clean brush to sweep over the edges in a circular motion. That will soften any harsh lines without adding more color. Also, keep a small shadow brush handy to pat the transition shade directly onto the crease if you need a little more intensity. The key is patience. A good eye look takes a few minutes of layering and blending. Do not rush. And if you ever feel stuck, go back to your transition shade. Re-buffing it over any harsh edges can save an entire look. It is the safety net of eye makeup.
So next time you sit down to do your makeup, do not skip that transition shade. It is the easiest way to get a smooth, professional finish without fancy techniques or expensive tools. Try it once, and you will never go back. Your eyeshadow will blend like a dream, and that patchy, harsh-line phase will be a thing of the past. Give it a shot, and let me know how it goes in the comments. Happy blending!
#eyemakeupmistakes #transitionshade #eyeshadowblending #makeuptips #eyelook
Leave a Comment