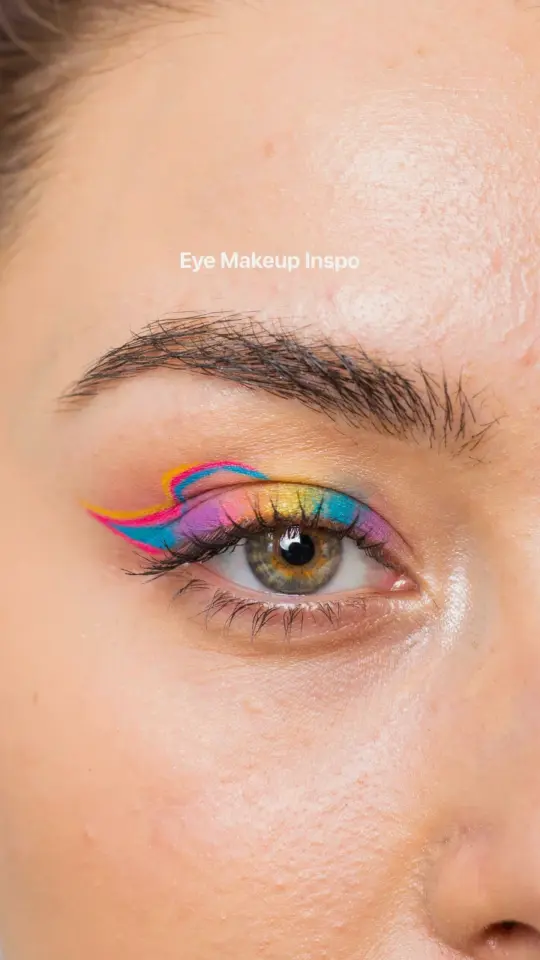
I love a good eye makeup before after transformation, especially when it’s so subtle your mom wouldn’t call it makeup at all. Honestly, the easiest way to get that wake-up-and-go look? A tiny winged liner and some mascara. But here’s the thing: I messed this up for years. Too heavy, too crooked, too much product. So I want to walk you through the mistakes I made so you can skip them entirely. This eye makeup before after is about a barely-there wing that takes two minutes and changes everything. Ready? Let’s talk about what goes wrong and how to fix it.
Picking the Wrong Eyeliner Formula (And How to Fix It)
Not gonna lie, I used to buy those gel pots with a tiny brush. Looked professional in the store. At home? Disaster. The gel dried before I finished one eye, and the brush left jagged lines. So I switched to felt-tip pens. Game changer. They glide, they don’t drag, and you can control thickness with pressure.
Here’s what I learned: if you want subtle, avoid liquid with a brush tip. Too unpredictable. Felt tip gives you that soft, even line. Also check the consistency. Too dry and you’re scratching your eyelid. Too wet and it bleeds into your crease. I keep a cheap felt-tip liner from the drugstore that lasts three months. Only catch: don’t pump the pen. That pushes too much liquid into the tip and makes a mess. Just close it tight after use.
One more thing. If you’re sensitive to fumes, some felt-tips have a strong chemical smell. I had a brand that made my eyes water every morning. Switched to a water-based one. No tears, perfect wing.
Skipping the Lash Line Trace (Why That Tiny Wing Falls Flat)
So you draw a wing. Looks okay in the mirror. But then you blink and the liner ends at the outer corner while your lashes are bare at the inner corner. The whole face looks unbalanced. I did this for months before realizing I was missing the foundation.
The trick is to trace your lash line first. Start from the inner corner, wiggle the felt tip between lashes, and go outward. This fills the gaps, makes your lashes look thicker, and creates a natural base for the wing. Honestly, the wing itself is just a tiny flick at the end. Without that lash line, the wing looks like it’s floating.
- Start at the inner corner, not the middle. Most tutorials say middle but I find that leaves a visible gap.
- Use a steady hand. Rest your elbow on the table. Helps with the shake.
- Keep it close to the lashes. If you see skin above the line, you’re too high.
I keep a magnifying mirror next to my bedroom window for natural light. That trace step takes 45 seconds. Then the wing is just a flick. No pressure.
The Most Common Mistake with Mascara Before Winged Liner
Ok, I’m about to admit something embarrassing. I used to do my mascara first. Then I’d try to draw the wing over the clumped lashes. The brush kept bumping into the mascara, smearing it everywhere. I ended up with raccoon eyes before 9 AM.
Do your eyeliner first. Every time. Let it dry for thirty seconds. Then apply mascara. This way the liner stays crisp and the mascara wand glides over the lash line without dragging dark product onto your skin. Plus, the liner acts as a guide for the mascara, you naturally keep it above the line. It changed my whole routine.
(Side note: I only use waterproof mascara on my lower lashes. Regular mascara smudges onto my cheek by noon. Why? No idea. Could be my skin type. But it works.)
Drawing the Wing Too High or Too Low (Finding Your Eye Shape)
Here’s a mistake I see all the time: people draw the wing at the same angle no matter their eye shape. If you have hooded eyes, a high wing disappears into the fold. If you have downturned eyes, a low wing drags your face down. I have round, slightly hooded eyes. For years I copied the kohl-rimmed wing from a K-beauty video. Looked weird. Too heavy, too low.
Instead, look straight ahead in the mirror. Relax your face. The wing should extend from your lower lash line, not your upper lash line. That upward trajectory works for most shapes. For hooded eyes, start the wing slightly before the outer corner and angle it upward, so it peeks out when your eyes are open. For monolid eyes, keep the line thin and the wing short, a sharp flick that doesn’t cut across the crease.
I actually drew on my hand multiple times to practice angles before trying on my eye. Sounds silly, but my hand doesn’t twitch as much.
Rushing the Drying Time (A 30-Second Pause Saves Your Look)
I’m impatient. I finish one eye, immediately open it wide, and the wet liner transfers to my crease. Then I have to fix it, which makes the line thicker, which ruins the subtle effect. Not good.
Now I wait. Honestly, I count to thirty. Or I do the other eye’s lash line trace while the first wing dries. That way by the time I’m done with both, the wings are set. Then I can blink freely. If you’re using a drier formula, it might set in ten seconds. But test it on your hand first. Watch how fast it dries. Every brand is different.
Oh, also: don’t close your eye completely while waiting. Keep it partially closed so the line doesn’t smear onto your lower lid. I learned that the hard way. Now I hold my eyelid shut with one finger for a few seconds. Works every time.
Forgetting to Wipe the Tip (My Weird Little Hygiene Habit)
Look, this is random, but I swear it helps. Every time I open my felt-tip liner, there’s a little crust on the tip from dried product. If I don’t wipe it off on a tissue, that crusty bit drags across my lash line and leaves a skipped patch. Then I have to redraw that section, which makes it thicker, and suddenly the subtle wing is a bold stripe.
So I keep a small square of toilet paper or a tissue next to my mirror. Before each use, I swipe the tip once. Takes two seconds. And it keeps the line clean. I also rinse the cap with warm water once a month to prevent buildup. Don’t judge. It works.
Another random tip: if your liner dries out, add a drop of contact lens solution to the tip. Not water, not eye drops. Contact lens solution. It restores the flow without messing up the formula. I read it on a beauty forum five years ago and it still works.
Not Blending the Wing with Your Lash Line (The Difference Between Sharp and Harsh)
The final mistake: leaving a harsh line between the wing and the lash line. You know that tiny gap of skin where the liner stops but the wing starts? It looks like a mistake. Even if you’re going for subtle, that gap makes the eye look unfinished.
The fix is simple. After you draw your wing, go back with the felt tip and connect the wing tip to the last few lashes. Use a tiny, almost feathery stroke. Don’t draw a straight line, wiggle the tip along the lash line so it blends into the natural edge. Then take a clean angled brush or a q-tip and soften the inner edge of the wing just barely. You want a subtle gradient, not a sharp triangle.
And that’s it. Two minutes, no gap, no harsh lines, just a tiny flick that makes your eyes look brighter and more awake. Try it tomorrow morning. Grab your liner, give it a go, and tell me how it turns out. I’d love to hear what works for you.
#eyemakeup #beforeaftermakeup #wingedeyeliner #eyemakeuptutorial #makeuptransformation
Leave a Comment